





Show the game you are playing through NVIDIA GeForce NOW as Discord Rich Presence.
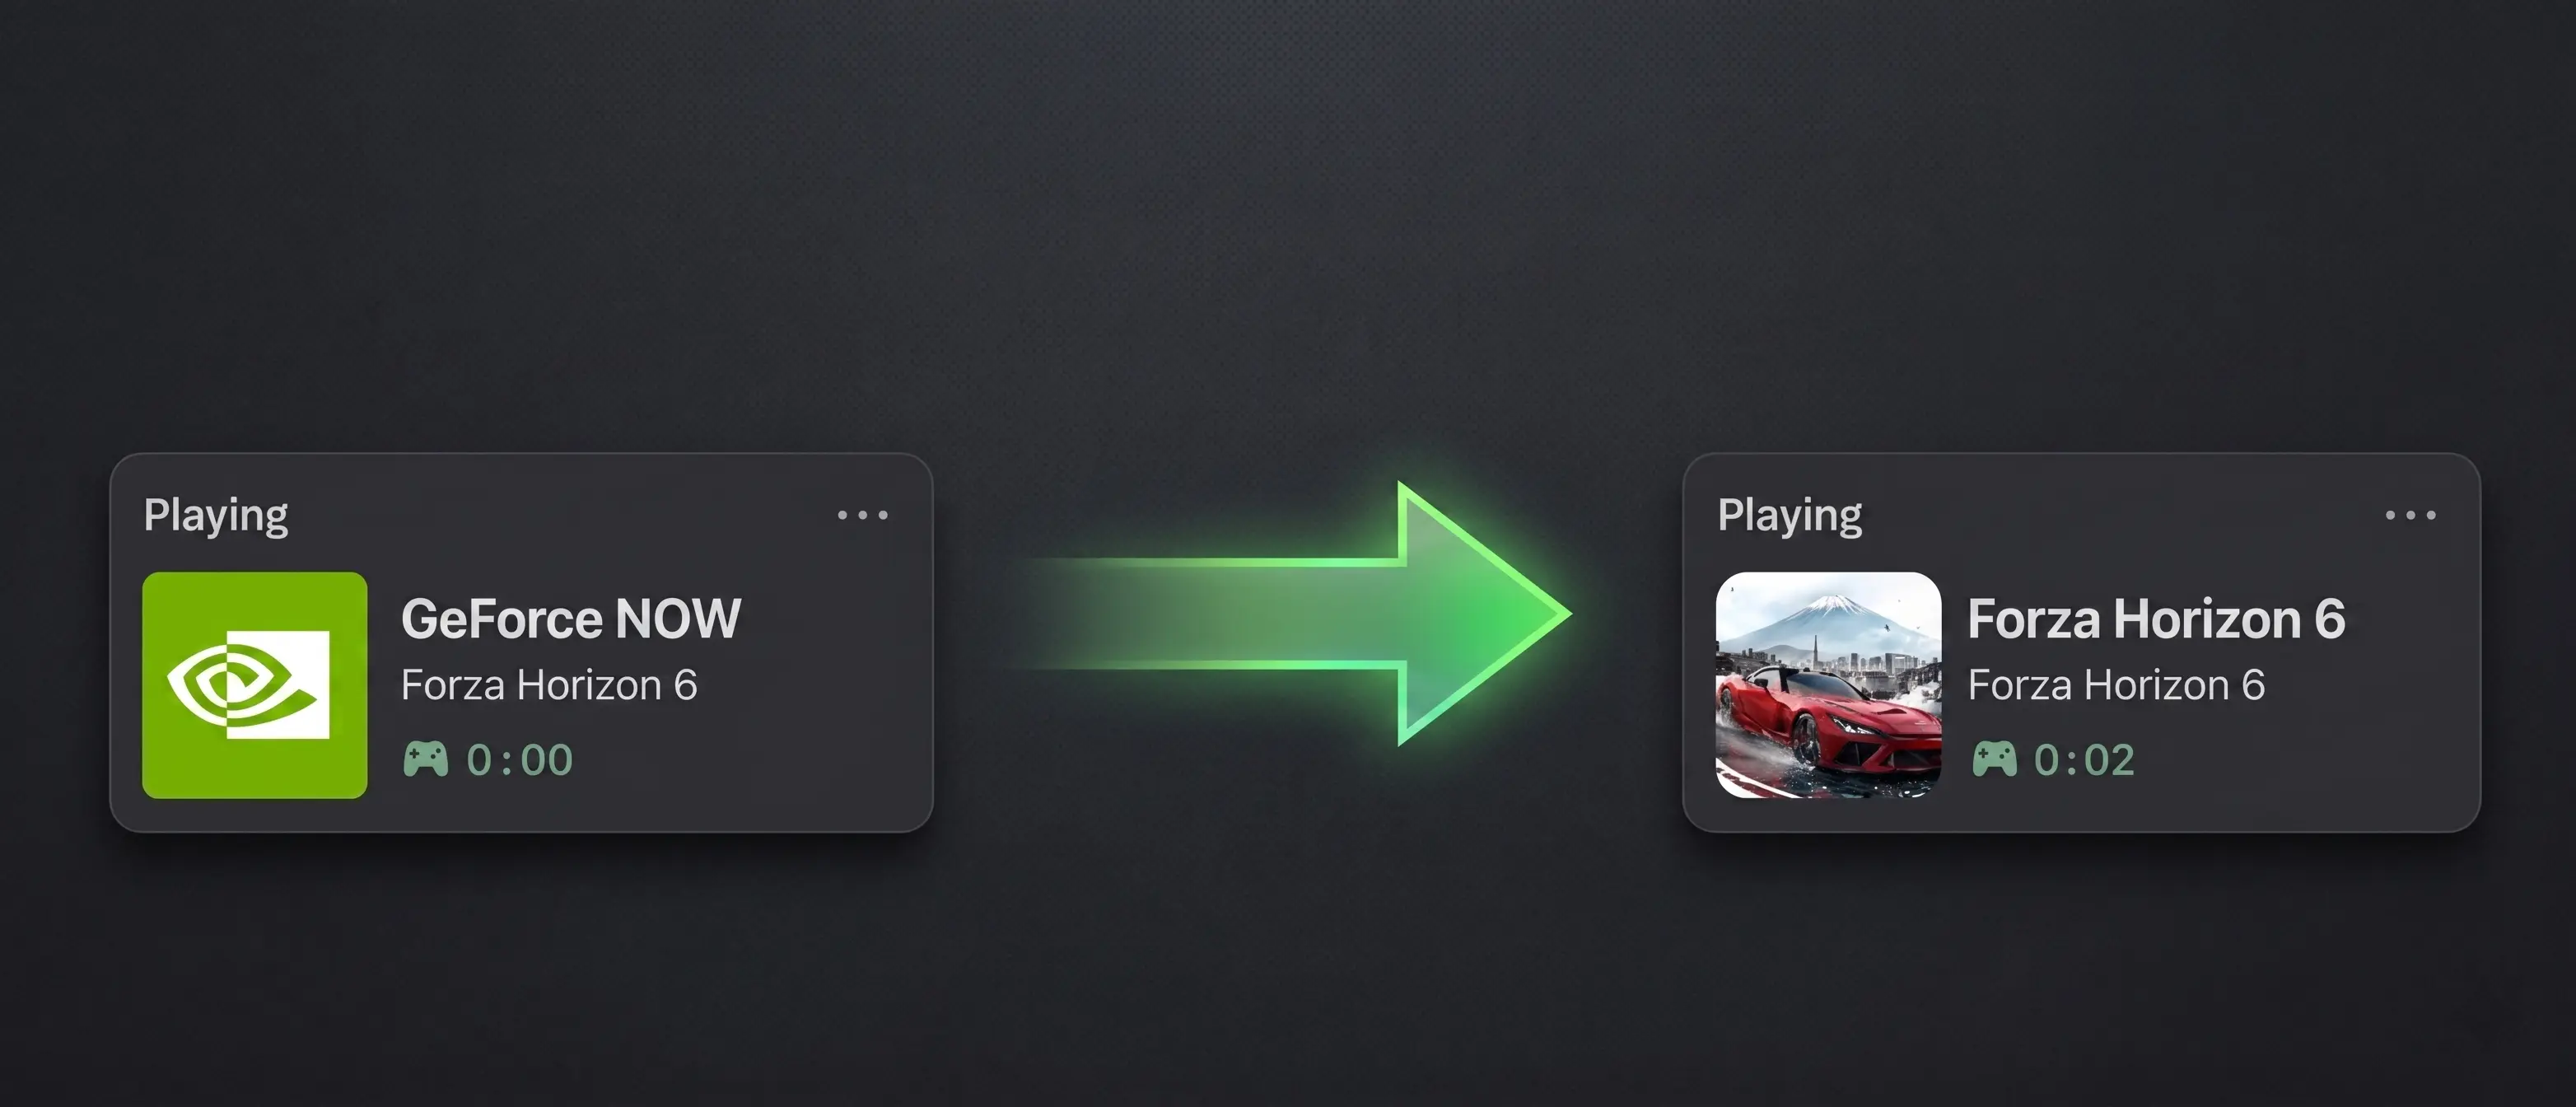
- Windows + macOS: Runs in the Windows tray or macOS menu bar.
- Auto Detection: Finds the active GeForce NOW game automatically.
- Rich Status: Shows the game name, artwork, and play time on Discord.
- Easy Settings: Edit config, secrets, logs, updates, and auto-start from the app menu.
- Update Checks: Can check GitHub Releases for new versions.
Before using the app, open GeForce NOW → Settings → Connections and turn off GeForce NOW's built-in Discord Rich Presence so both apps do not fight each other.
- Download
GFNDiscordRPCSetup.exefrom Releases. - Run the installer.
- Start the app from the Windows tray icon.
- Download the right
.dmgfrom Releases:- Apple Silicon:
GFN-Discord-RPC-arm64.dmg - Intel:
GFN-Discord-RPC-x86_64.dmg
- Apple Silicon:
- Open the
.dmgand drag GFN Discord RPC into Applications. - Open the app. It lives in the macOS menu bar and has no Dock icon.
If macOS says the app is damaged, run this in Terminal and open it again:
sudo xattr -cr "/Applications/GFN Discord RPC.app"On first launch, macOS may ask for Screen Recording permission. This is only used to read the GeForce NOW window title, not to record your screen. Enable it in System Settings → Privacy & Security → Screen Recording, then restart the app.
No setup required. The app uses a built-in Discord application and will show your game name with a default image right away. Just install and run.
All three keys below are optional — add them only if you want extra features.
Optional: Enable per-game artwork (SteamGridDB + ImgBB)
Without these keys the app shows a default GFN image for every game. Add both keys to fetch and display the actual game cover art.
SteamGridDB API Key
- Sign in at SteamGridDB.
- Open steamgriddb.com/profile/preferences.
- Go to the API tab and copy/request your key.
- Add it as
GFN_STEAMGRIDDB_API_KEY.
ImgBB API Key
- Open the ImgBB API page.
- Sign in or create an account.
- Copy/create your API key.
- Add it as
GFN_IMGBB_API_KEY.
Optional: Use your own Discord application
By default the app registers your Discord status under the official GFN Discord RPC application. If you prefer your own Discord application name and icon, create one:
- Open the Discord Developer Portal.
- Click New Application and give it a name.
- Copy the Application ID from General Information.
- Add it to
secrets.json(see below) asGFN_DISCORD_CLIENT_ID.
No bot token or OAuth setup is needed.
Open secrets.json via Edit Secrets in the tray/menu-bar menu and fill in only the keys you need, leave the rest as empty strings:
{
    "GFN_DISCORD_CLIENT_ID": "",
    "GFN_STEAMGRIDDB_API_KEY": "",
    "GFN_IMGBB_API_KEY": ""
}
On Windows you can also add these as user environment variables: search for environment variables, open Edit environment variables for your account, and add each key under User variables.
Right-click the tray/menu bar icon to access:
Edit Settings- Change app options.Open Config JSON- Openconfig.jsondirectly (Windows only).Edit Secrets- Update API keys.Open Logs- Open the log file.Check for Updates- Check GitHub Releases manually.Start at Login- Toggle auto-start.Quit/Close- Exit the app.
Windows:
%APPDATA%\GFN Discord RPC\
macOS:
~/Library/Application Support/GFN Discord RPC/
This folder contains config.json, app.log, and image_cache.json. A secrets.json file is created the first time you use Edit Secrets (or you can create it manually).
Requires Python 3.12+ and uv.
git clone https://github.com/LumiDevLabs/geforce-now-discord-rpc.git
cd geforce-now-discord-rpc
uv sync
uv run python main.py
Build Windows:
.\windows\build.ps1Build macOS:
bash macos/build.shReleases are built with GitHub Actions and include the Windows installer plus Apple Silicon and Intel macOS DMGs.